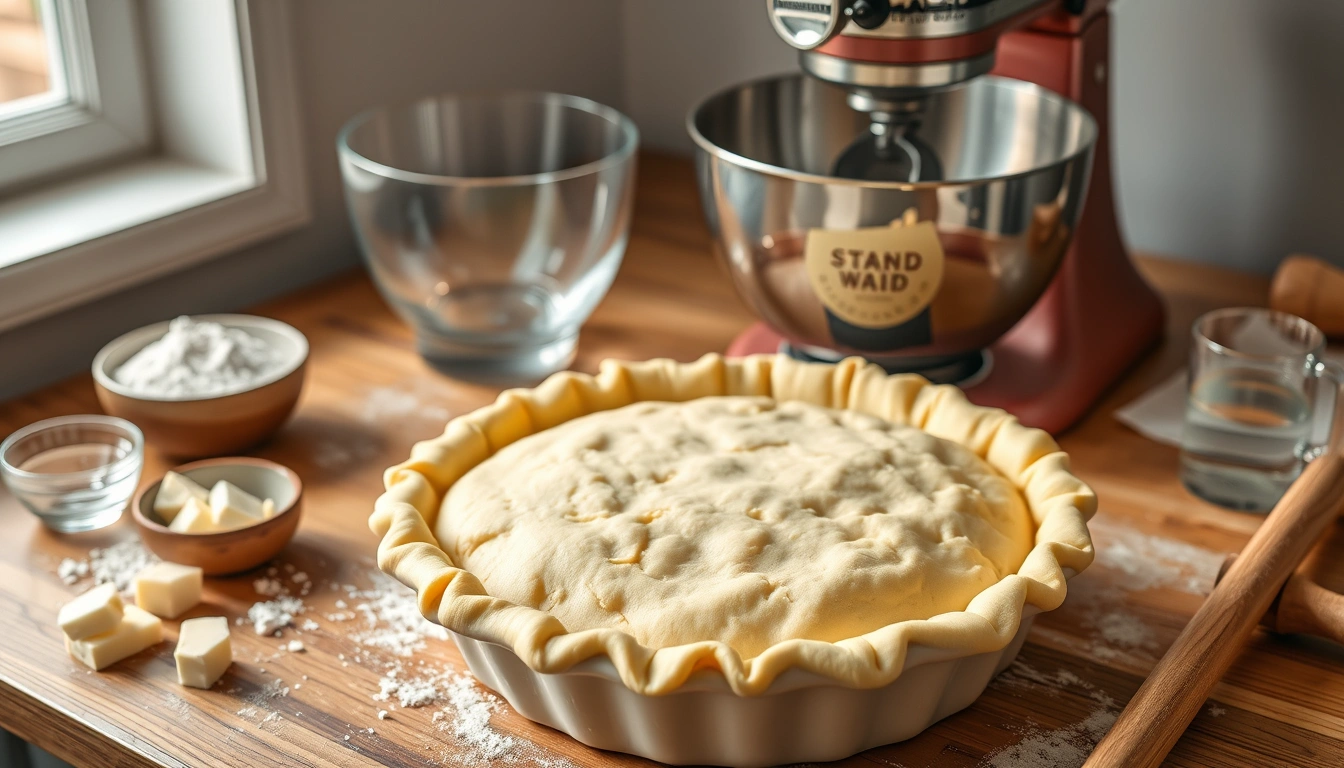
Pie crust is a fundamental element in many culinary cultures, especially in Latin America, where each country has its own version and name for this basic preparation. In Argentina, for example, it is commonly found as "masa para tarta" or "masa de tarta", while in Mexico it is called "masa para pay" and in Chile simply "masa para pie". Although in essence they all seek the same thing—a consistent and tasty base for sweet or savory pies—the texture and technique can vary a bit according to local traditions. Its origin dates back to Europe, where pastry-making developed various techniques to create dough bases that adapt to different fillings, be they fruits, meats, or vegetable mixtures.
This versatility has allowed pie crust to become a classic of home cooking in many Latin American countries, adapting to available ingredients and regional preferences. In general, the crust is characterized by its crispy and delicate texture that perfectly complements a wide variety of flavors, making each pie a unique culinary experience.
How to Make Pie Crust with a KitchenAid
This simple and practical recipe for making pie crust with a KitchenAid will allow you to get a perfect base for your favorite preparations. Follow these steps carefully to achieve a dough with an unmatched texture.
Ingredients: Salt, Flour, Butter, Shortening, Water.
Steps:
Sift the flour and salt into a bowl.
Cut the shortening and butter into 4 to 5 pieces and add to the bowl.
Place the bowl and the flat beater.
Turn on to stir speed and cut the shortening into the flour until the particles are the size of small peas, approximately 30 seconds.
Add water, one tablespoon at a time, until all particles are moistened.
Use only the amount of water needed to form a dough.
Observe the dough carefully as overmixing will result in a tough crust.
Refrigerate for 15 minutes.
Roll out to a thickness of 1/8 inch between sheets of wax paper.
Fold the dough into quarters.
Gently place in the pie pan and unfold, pressing firmly against the bottom and sides.
Trim and crimp the edges.
Fill and bake as desired.
For a pre-baked crust: prick the sides and bottom with a fork.
Bake at 450°F for 8 to 10 minutes until lightly golden.
Cool completely before filling.
Tip: I also chill the wax paper and rolling pin to make handling easier.
